
When it comes to roof valleys, they require close attention to details to avoid roof leaks. In this article, we want to show you the proper way to approach these challenging areas of the roof and explain how to properly install a valley on an asphalt shingled roof.
There are several different types of valley application methods, which include closed, open and woven valleys. For longer roof performance Luso Roofing strongly recommends open metal valley applications! We complete the application of underlayment and the valley metal flashing before the shingles are applied. The metal flashing material we recommend is a 28 gauge galvanized metal flashing.
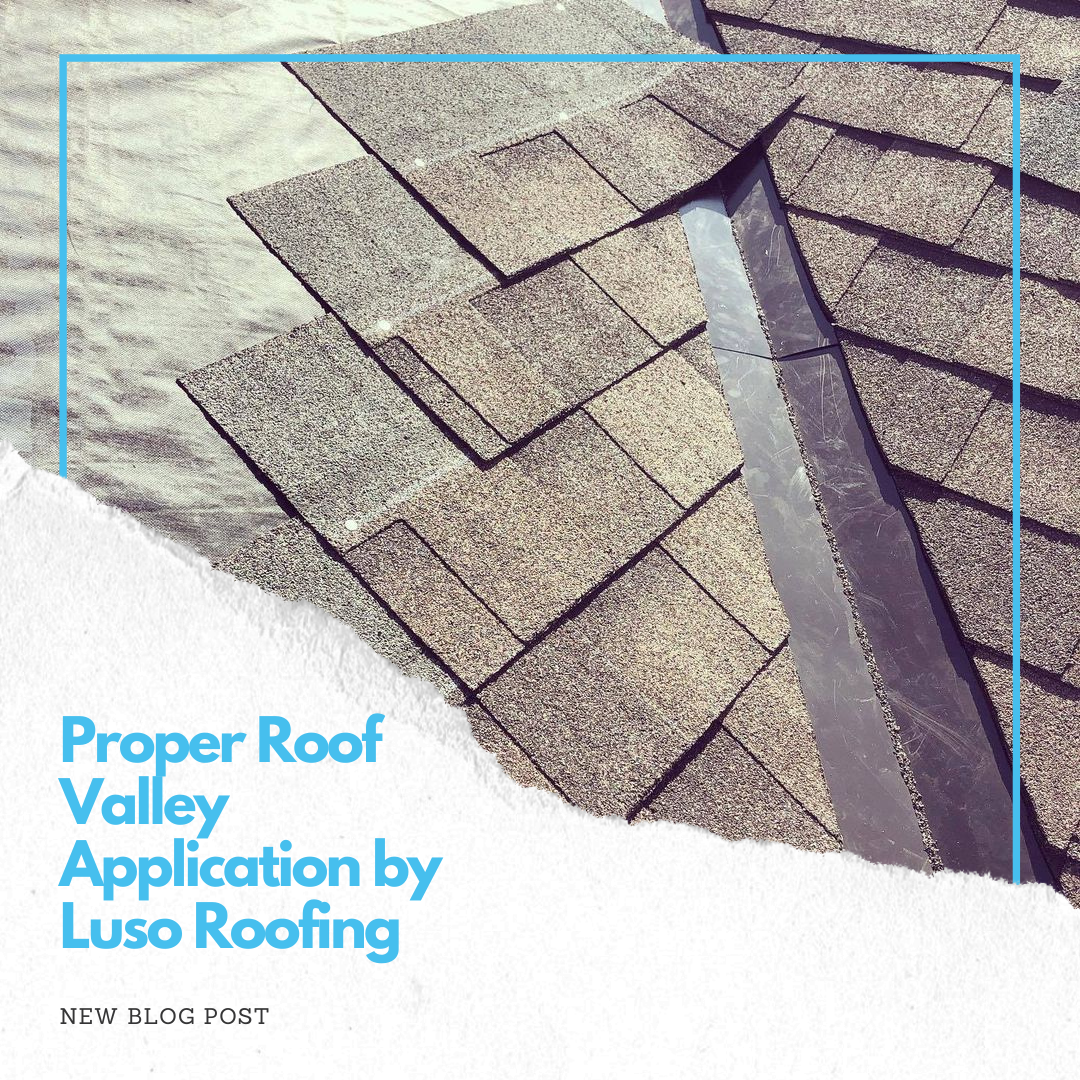
We start by centring a 36-inch width strip of ice and water protector membrane in the valley. Next, we temporarily nail centre a minimum 24-inch wide 28 gauge refinished galvanized metal valley liner in the valley. It is fastened with enough nails to hold it in place, nailing it at the edges only. We then snap two chalk lines at the full length of the valley. In general, six inches apart at the top of the valley making it three inches on each side of the metal valley. We increase in width by 1/8 inch per 12 inches towards the bottom to a maximum of eight inches.
Once the metal valley flashing is in place we apply a 36-inch width strip of ice and water protector membrane on both sides of the valley for added protection. When the shingles are being applied, we lay them over the valley flashings trim the ends to the chalk line and nail the shingles at least 2 inches back from the chalk line. We make sure to trim 2 inches off the top corner of the shingles, called a dog ear, to direct water into the valley.
So there you have it, the proper way to install valleys on your roof! While there are several valley application methods, the correct installation of each type is critical to your overall roof performance no matter which one you choose.